Pottery Boys Clay Studios
  • Home
  • Pottery Store
  • About
  • Art Fairs
  • Video Blog
  • Home
  • Pottery Store
  • About
  • Art Fairs
  • Video Blog
Search by typing & pressing enter

YOUR CART

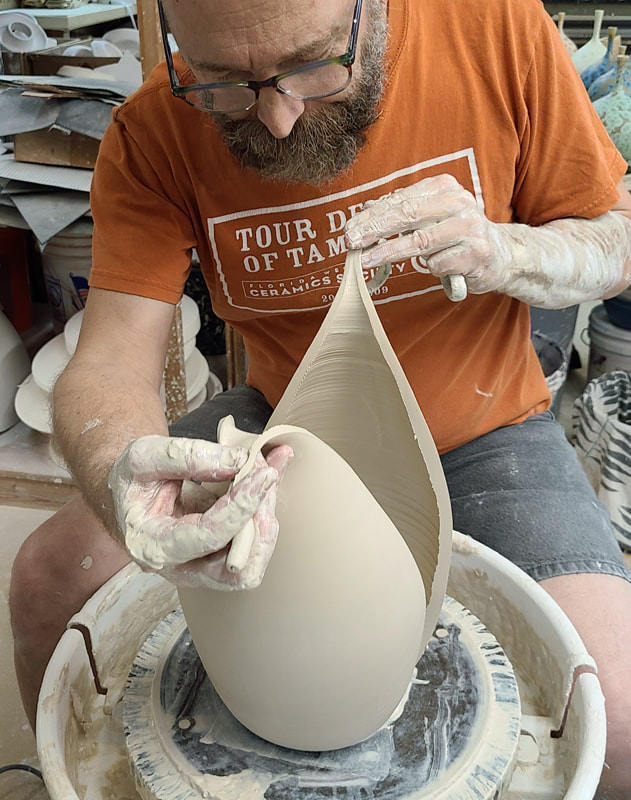
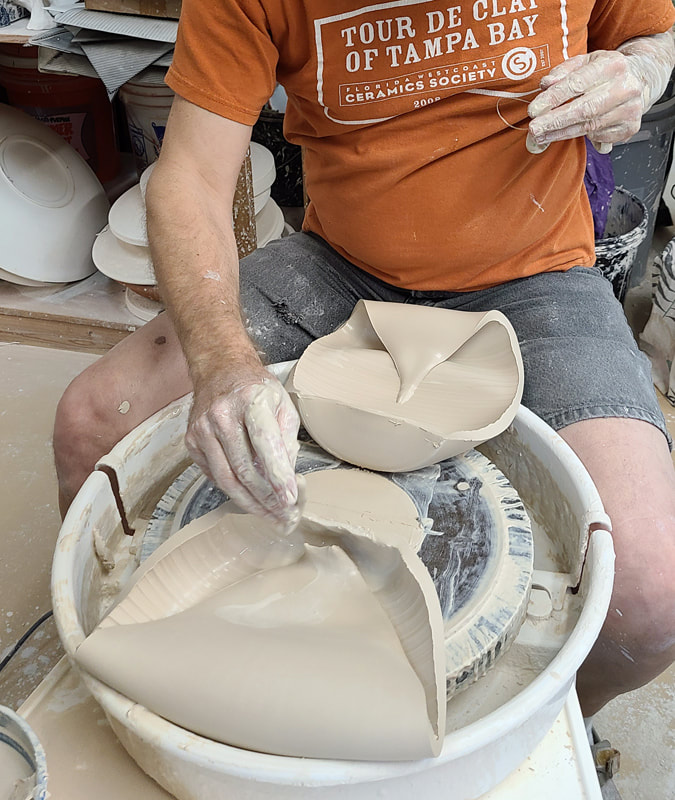
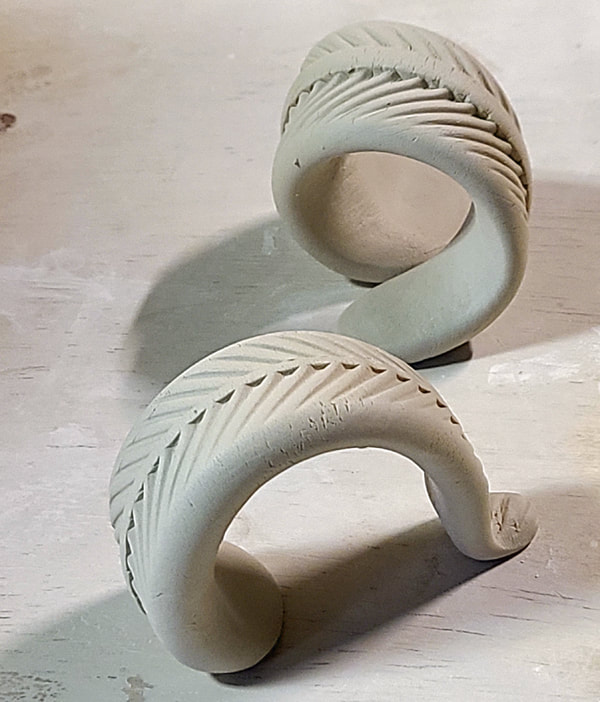
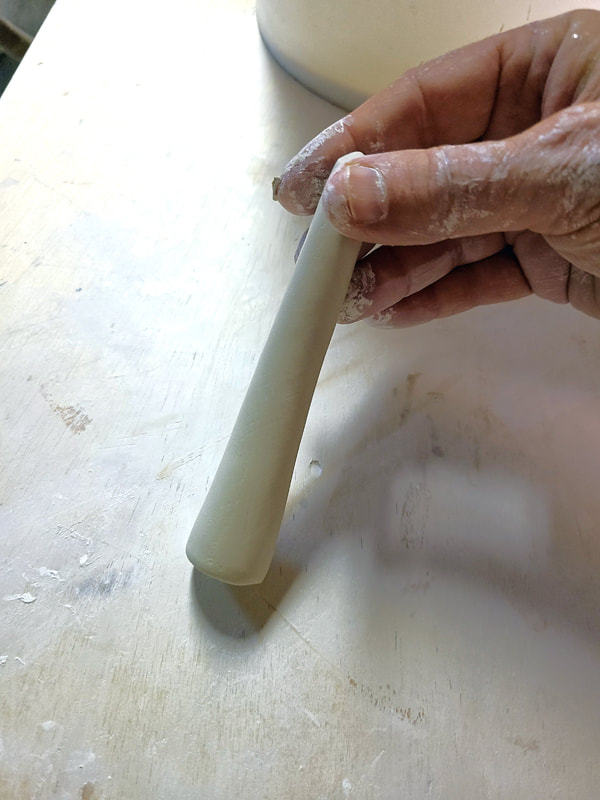
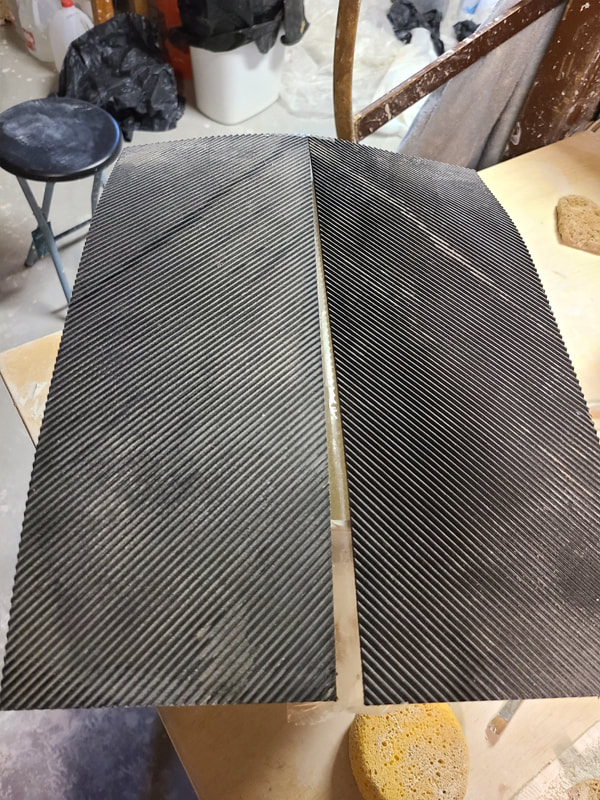
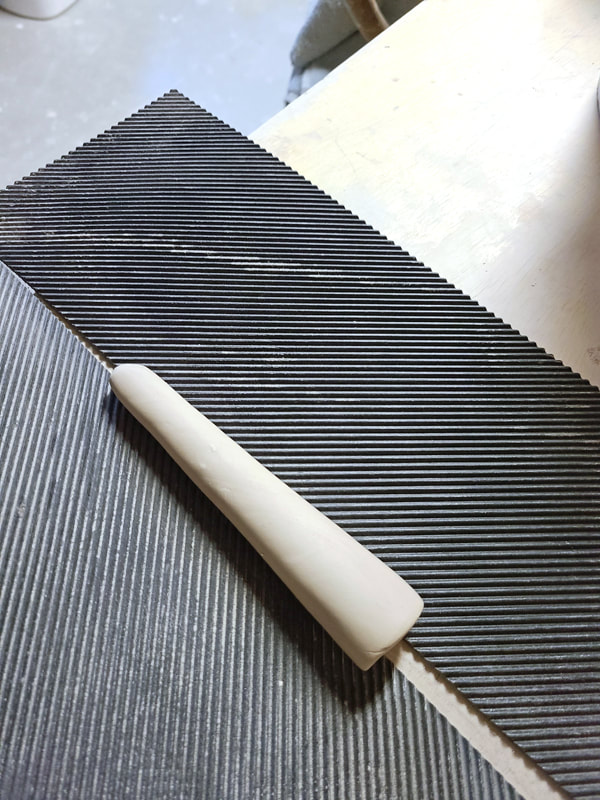
1/5/2021 1 Comment

Teaching an Old Dog New Tricks

In December of 2020, Glenn took a virtual workshop taught by master potter, Jose' Mariscal who is internationally known for his work in Crystalline Glazed Pottery. Jose' is a master at formulating and firing beautiful crystalline glazes but his throwing abilities and skill is second to none.
I have been throwing since 1974 and have worked over the years to fine tune the throwing style I learned way back then at Northridge High School in Middlebury, Indiana and continued my work in clay at Indiana Central University (now known as The University of Indianapolis).
This attached video is not really meant as an instructional video but a video to show you how learning new techniques can be like starting all over again - I found it embarrassingly difficult. The only similarities between his style and my current style of throwing was centering - everything else from there was so completely different.
Sit back and get ready to watch how difficult it is for a new dog to learn a new trick. 
Picture
Picture
Picture
Picture

Check out the video below for the last of 3 attempts

1 Comment

11/24/2020 0 Comments

Tour de Clay Guest Artist - Teresa Testa

One of the things that makes Tampa Bay Tour de Clay so special is the wonderful guest artists, invited to participate by the various studio owners. Pottery Boys Clay Studio is so happy to have Teresa Testa as one of their guest artists.
Check out the video below - Teresa introduces herself and talks briefly about her work. If you are able to attend Tour de Clay this year, come to Palm Harbor where she will be displaying her work for sale. Teresa will be on site both Saturday and Sunday, December 12 & 13, 2020 if you want to have a conversation with her about her technique and her inspiration.
Other guest artists this year are: Jennifer McCurdy; Susan Anderson; Tim Sullivan; Larry Allen; Lynne Meade; Ellen Cole; and of course, host artists: Glenn Woods and Keith Herbrand.
This year's Tour is both virtual and in person with 3 different studios on the tour: San Antonio Pottery in San Antonio, FL; Wellman/Welsch Pottery in Lutz, FL; and Pottery Boys Clay Studios in Palm Harbor, FL.
For more details go to our Tour de Clay Page.
Picture
Picture
Picture

Check out the video below

0 Comments

11/22/2020 0 Comments

Christmas and Holiday Gift Ideas

Every year Keith creates a limited number of Christmas ornaments - we only sell them once a year so once they are gone, you will have to wait until the next year to pick one up.
Special attention is given to each ornament, attempting to create a color transition from top to bottom. Because the ornaments are fired upside down, we have to think in reverse and because the glaze is very fluid during the firing, if we use too strong of a color on the top portion (which will become the bottom when finished), the more dominant color can overtake the entire piece - they are still beautiful but we loose the color transition. Trial and error proves which color blends work the best and we try to remember this from year to year.

These do make perfect holiday gifts, stocking stuffers, or just a nice holiday gift for yourself.
If you do not find the color you are looking for, we may have others on hand - it is impossible to post each and everyone of them and the glaze results from piece to piece vary so much with crystalline glazes that we have to photograph each one individually.
​
If you want to take a quick look at what is available in our store, simply click here: Christmas Ornaments to see what is available. Feel free to contact us via email or text to see what other colors might be available.
Picture
Picture
Picture
0 Comments

10/7/2020 7 Comments

Acid Etching - Pushing the Contrast and Color

There are many ways to alter the appearance of the crystalline glaze after the piece has been finished. If the glaze is too dark and the crystal can be seen only under bright light or with very close examination, acid etching may help brighten the crystal and create greater contrast between the crystals and the ground color. Even if there is no back ground and the piece is covered with a solid patch of crystals, this acid bath process can make the crystalline structure easier to see and render a wider range of colors within the crystal. Some glazes are formulated with an excess of copper, cobalt, and other metal oxides and is intended to be acid etched, as with Jose' Mariscal's "Galaxy Glaze" formulations.  Galaxy Glazes - before acid etching - appear to be black and the crystals and very difficult to see but after etching, it reveals an amazing array of crystals and other secondary crystalline structures.

The acid we used in this demonstration was Sodium Bisulphate, which we bought at a pool supply store (used to balance the PH level in pools). If you want to be on the safer side, vinegar is another acid choice that can be used but instead of hours, it may take days to achieve the desired results. If you want faster results, a stronger acid such as Muriatic Acid can be used, but this is more dangerous and etches very quickly and lead to over etching.

The amount of etching time can vary from glaze to glaze and depends greatly on the strength of the acid. In this example, we etched in Sodium Bisulphate for about an hour. When we first started etching, we would etch a piece for 15 minutes, wash and dry, record the results and then etch for another 15 minutes and repeat until we got the desired result - often we would go just one more 15 minute segment of etching and ruin the piece but for the next piece, we would know when to stop.

As you can see in the before and after photos here, the crystals are much easier to see and appreciate and the color contrast is much greater.

Should you decide to give this technique a try, it is important to begin with short intervals of acid etching - once the piece is etched, the effect cannot be reversed - it is possible to over etch the piece. If the piece is over etched, the crystal begins to loose definition and the surface becomes a bit chalky - much like sand blasted glass. In the case of a glaze with very high copper content, the background can shift from a dark green or black to a white with a silky/satin surface quality. If you get the piece wet after it has been etched, the color will temporarily return to a darker color and the white disappears , once dry, it returns to the lighter colors and white surface. This is important to point out to a customer, if they are not aware of this color shift when wet, they might see this as a defect and return the piece - we have had this happen.

Check out the video below - we demonstrate the acid etching process - it is magical to watch the transformation. Let us know what your thoughts are and if you have any questions.
Picture
Before Acid Etch - stronger colors, toward the bottom, the color becomes darker and we loose the contrast between crystal and ground.
Picture
After Acid Etch - lightens the color and increases the contrast between crystal and ground.
Picture
Close-up before etching
Picture
Close-up after etching
7 Comments

9/22/2020 0 Comments

Glenn Grinds and Attaches Riser/Catch Tray

Just one of the many steps we take to prepare our work for glazing. The video below shows how we grind the bottoms of our pots and the riser so they are a perfect fit. Once the grinding is done, we mix a material that is used to fuse the pot to the top of the riser. This mixture is a 50/50 mix of EPK and Alumina Hydrate, then we add enough glue to make it stir easily and then just enough water (just a few small amount) to make the material flow easily through a squeeze bottle.
We make sure all surfaces are free of any dust before we put a bead of this mixture on the riser, smoothing the bead out with the tip of our finger. Then we carefully place the pot on top of the riser and adjust it so it is perfectly centered on the riser. The video below shows all of this, it is not that difficult but watching the process makes it a lot easier to follow.
Check out the video below and let us know if you have any questions.
Picture

Here's the video

0 Comments

9/21/2020 0 Comments

Keith Demonstrates How to Make Risers/Catchtrays

In this video, Keith demonstrates how he throws the catch trays and risers he uses for his crystalline glazed pieces. Each riser is carefully made to fit perfectly to the bottom diameter of each piece. He will throw a variety of these risers at one sitting so he throws his risers off the hump - the process of centering a large amount of clay and using only the very top portion to create a small piece, cutting it off and then re-centering the top and creating the next piece.
This demonstration shows only one of the many ways risers and catch trays are made - you might want to watch how other artists approach the same step and select the method that works best for you or create your own method altogether.
​
Check out this video - it is just a little over 9 minutes long. We hope you learn a little something in watching how he does this very important step.
Picture
Picture
Picture

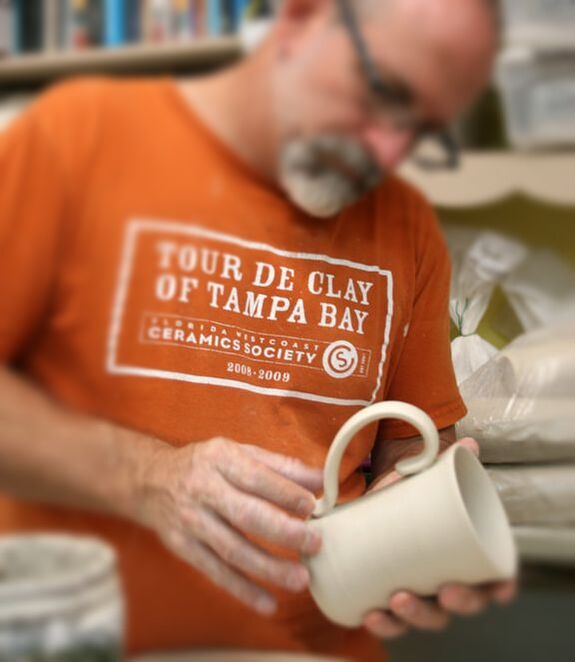
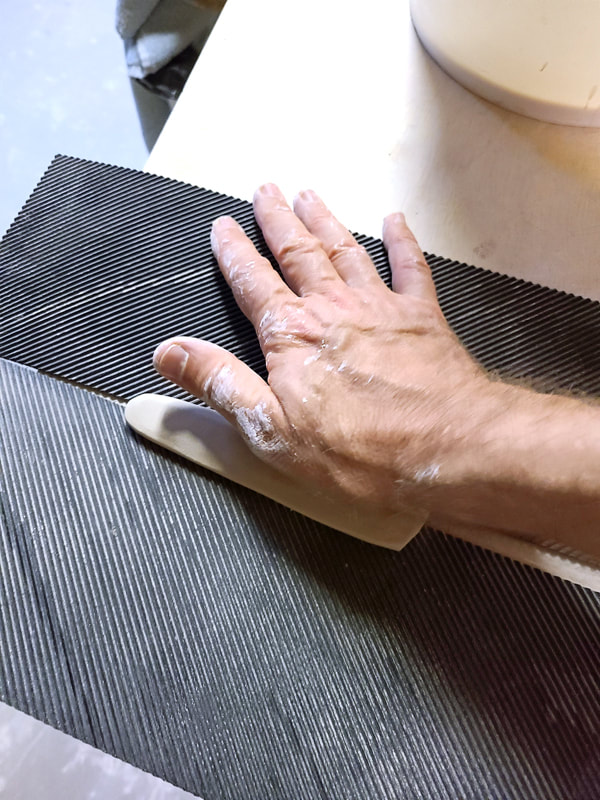
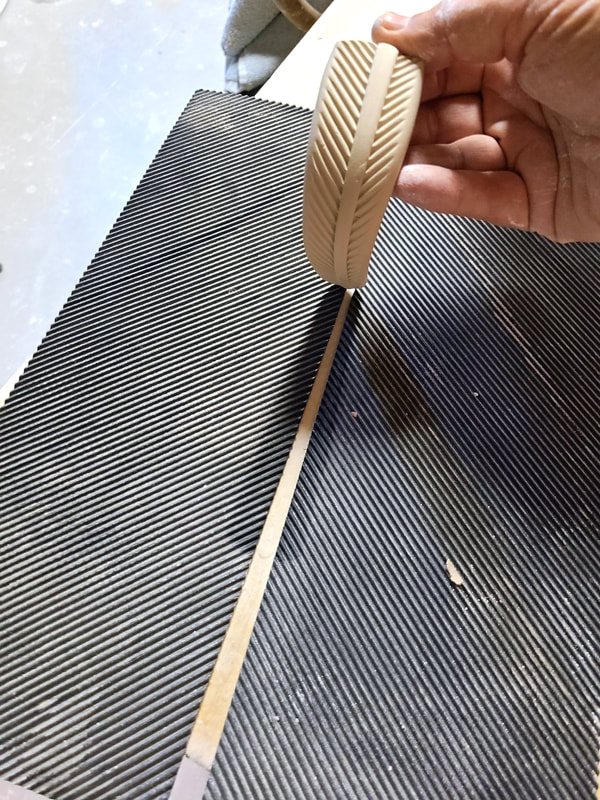
Watch the video below and let us know what you think.

0 Comments

9/20/2020 2 Comments

Keith Putting Handles on Mugs
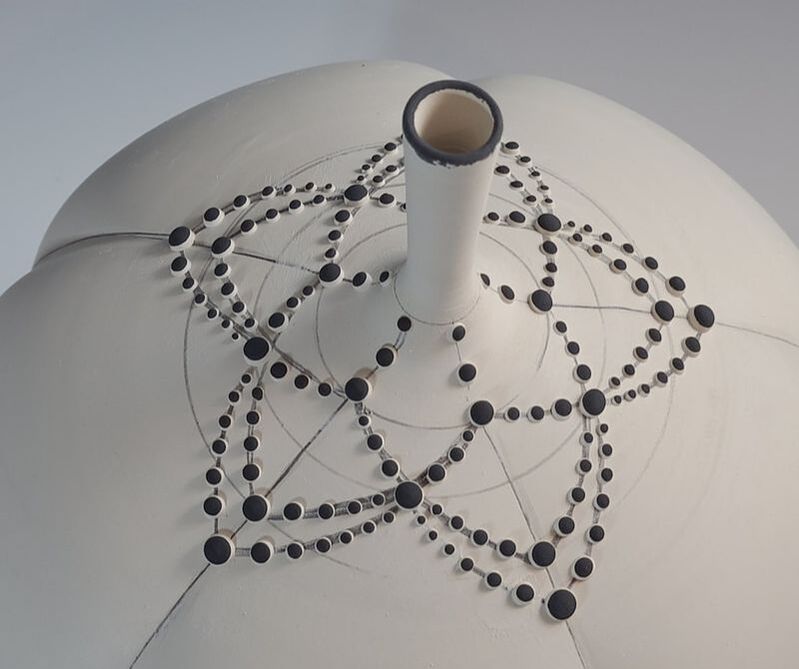
As Keith works on his next series of mugs, he thought it would be helpful to share how he makes and attaches his mug handles.
We shot this little video which explores how Keith makes and attaches his handles and we discuss briefly how we each approach making mug handles a bit differently.
We also discuss this year's Tampa Tour De Clay - always the second weekend in December and this year it will be both a Virtual and In Person experience featuring the work of a great mix of artists hosted by 3 local studios. Each studio will be open with some of the artists present and the remainder available on-line through the Tour Website: TampaTourDeClay.com
If you like Keith's mugs and want to purchase one for your very own, check out his mugs in our pottery store CLICK HERE. 
Picture
Picture

Check out this short video

2 Comments

9/16/2020 0 Comments

A Meditative Throwing Demonstration

Most everyone I have talked to who has watched a pottery demonstration has told me that watching the clay transform and the potter at work is mesmerizing and can be very calming. I have been so focused on trying to put videos together for the purpose of instruction, I completely forgot how so many people just like to watch and if they learn anything, that is just icing on the cake.
Because there are so many stressful things in our daily lives, I thought it might be nice to do a throwing demonstration with no voice-over or spoken instruction, just a simple demonstration with some soothing music.
This video takes about 10 minutes - so sit back, relax, breath in - breath out, and meditate on the positive things in your life or simply zone out and enjoy the demo.
If you are interested in seeing some of our items for sale, we encourage you to visit our virtual pottery store - CLICK HERE to visit our store.

Thanks for tuning in and let me know if there is anything you would like to see me demonstrate or if you are having a problem with one of the throwing steps and would like a demo focusing on that step alone. You can leave a comment here or email us by clicking HERE.
Picture
Here is the piece thrown in the video after it has been altered and beaded. You can see the sketching that helps to put the beads in place.
Picture
Picture

Here's the video - it takes about 10 minutes. Sit back and relax!!

0 Comments

8/31/2020 0 Comments

Different Methods of Making Handles for Mugs

Keith and I use two different methods of making handles - I prefer to pull my handles and Keith prefers to extrude them. Each are perfectly fine and each lend themselves to creating very functional and perfectly beautiful handles.
Recently a friend asked us to demonstrate some alternatives to pulling handles so I put this video together using a Facebook LIVE post - it is a little rough and we may re-shoot it if we have time in the future.
In this video we demonstrate:
How to roll a coil for a handle
How to use a textured mat for interesting handles
How to draw a handle out of a thick slab of clay
How to use extruded handles
How to create a pulled handle look using a coil
How to pull a single handle
How to pull a handle on a plastic container
How to create a stem-like handle for a pumpkin form
​
I hope you find this video useful - give each of these techniques a try and I think you will find handles can be fun and a way to add texture and visual interest to your mugs. 

Check out our online store and purchase a mug today for that special someone, even if that special someone just happens to be you!
Picture
Picture
Picture
Picture
Picture
Picture
Picture
Check out the video here: https://www.facebook.com/keith.herbrand1/videos/10223055549121717/
​

0 Comments

8/8/2020 1 Comment

Art Fairs During the COVID-19 Pandemic

Outside art fairs are our primary source of income - in March 2020, art fairs started cancelling little by little and then like an avalanche, they all came tumbling down. Overnight we, like so many artists across the US became unemployed at the most inopportune time, the summer and fall months for most artists are the only months they participate in art fairs.
Our first art fair that did not cancel was in Glenview, Illinois - just far enough out of the city of Chicago to be free of some of the very strict safety guidelines imposed on the heavily populated city gatherings. 
There were many safety precautions imposed on the promoter (Amy Amdur of Amdur Productions):
1. Only 25 booths allowed in at the event - spaced 10 feet or more apart on all sides
2. Only 50 patrons allowed in the roped off event area at any time
3. All patrons entering the event space must pre-register to enter for a specific time slot
4. All patrons entering the event must wear face masks, answer questions, and have their temp taken
5. Walking traffic through the event would go in only one direction, you had to circle around to go back
6. All artists were required to have hand sanitizer, masks, wipes, and an electronic means to conduct sales
7. All artists were required to wear masks at all times.
8. Just to make it seem like a real art fair, a storm must come up at the last minute and rain must fall

I did 4 facebook live sessions to show how we redesigned our booth so all of our display faced outward - there was no interior display area so patrons did not have to enter a confined space to veiw our pottery.
I am going to attempt to attach 3 of the facebook live sessions below. You should be able to click on these links and see our booth set up, the art fair set up, and watch as I discuss some of the pottery found in our booth that weekend.

Session #1: https://www.facebook.com/keith.herbrand1/videos/10222787624663773
Session #2: https://www.facebook.com/keith.herbrand1/videos/10222788487805351
Session #3: ​https://www.facebook.com/keith.herbrand1/videos/10222789166542319
Picture
Picture
Picture
Picture
Picture
Picture
1 Comment
<<Previous

We Would Love to Have You Visit Our Studio Soon!
Click here to enter our virtual pottery store


Hours

By Appointment

Telephone

727 504 6200

Email

PotteryBoys@earthlink.net